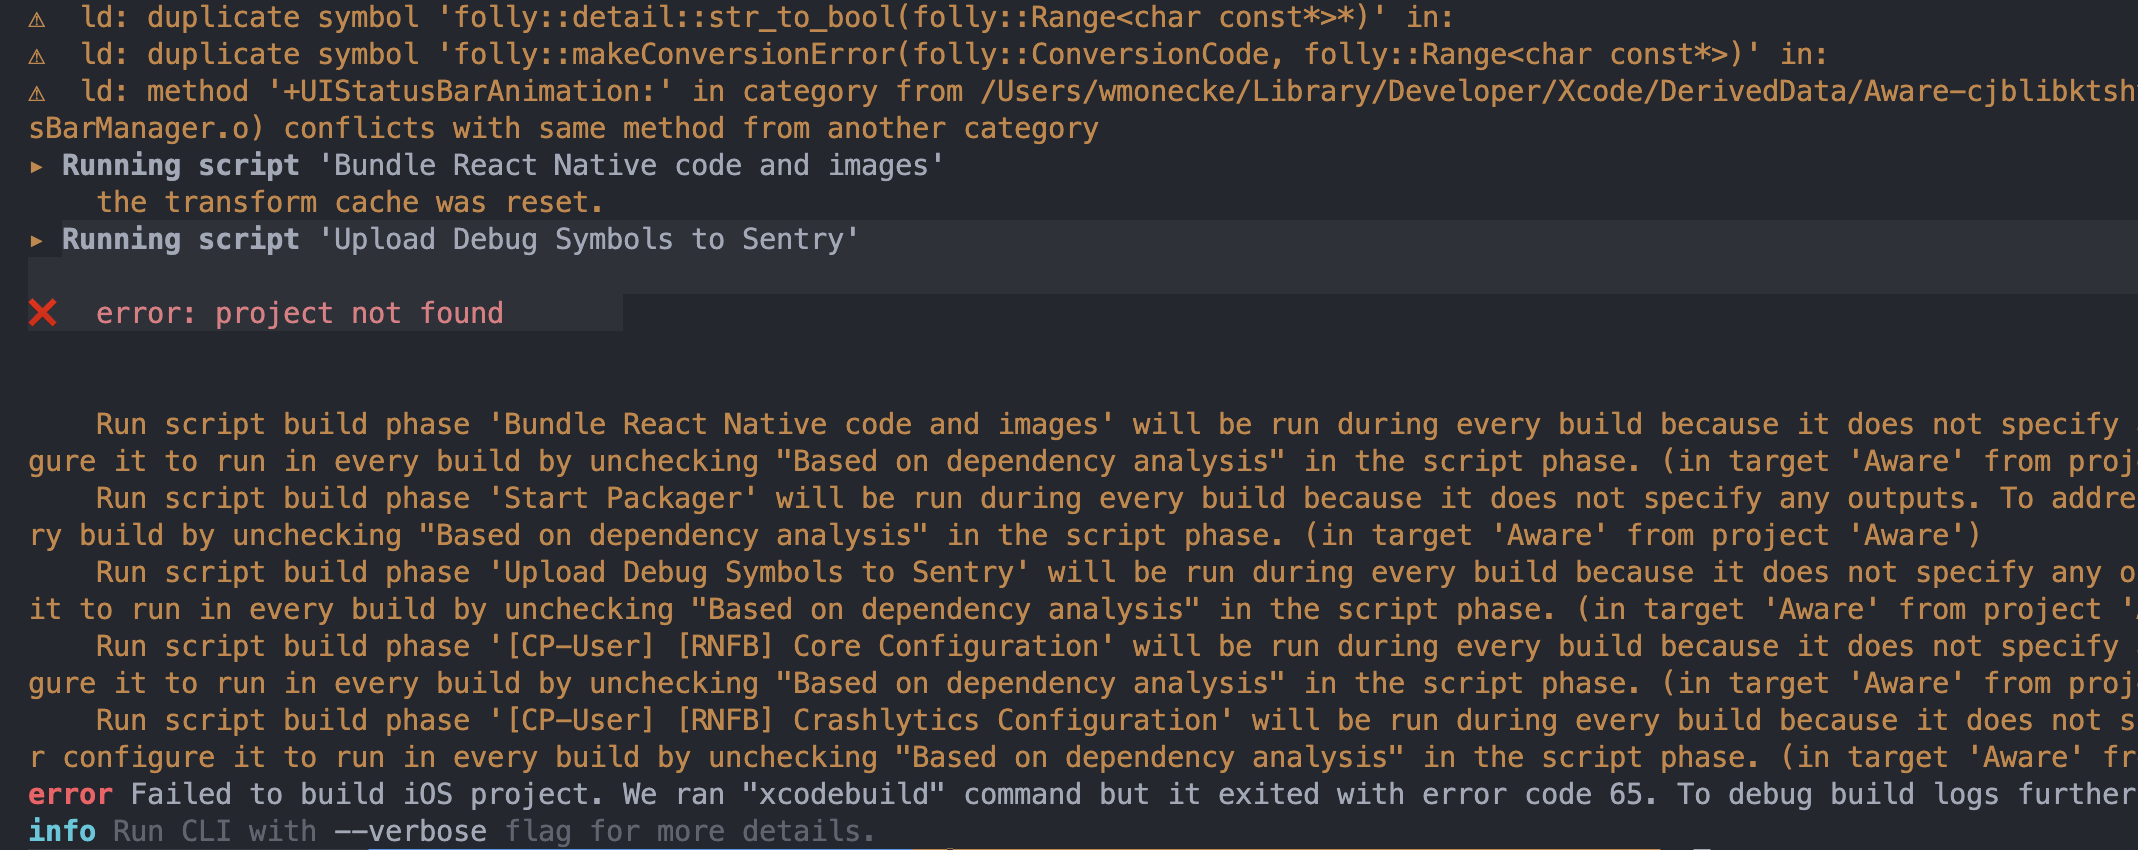
When using Sentry CLI to manage releases in GitHub workflows, encountering the error:
error: Project not found. Ensure that you configured the correct project and organization.
is common. This issue typically arises due to misconfigurations in your Sentry setup or GitHub integration. This guide provides a step-by-step approach to diagnose and resolve this error.
Understanding the Error
This error indicates that Sentry CLI cannot locate the specified project within your Sentry organization. The root causes often include:
- Incorrect Project or Organization Slug: The project or organization name provided in the CLI command does not match the actual names in Sentry.
- Missing or Misconfigured GitHub Integration: The repository is not linked to your Sentry organization, or the integration is not properly configured.[docs.sentry.dev+1docs.sentry.io+1]
- Authentication Issues: The Sentry authentication token used may lack the necessary permissions.
Step-by-Step Resolution
1. Verify Sentry Organization and Project Slugs
Ensure that the organization and project names in your CLI command match exactly with those in Sentry:
- Organization Slug: This is the unique identifier for your organization in Sentry.
- Project Slug: This is the unique identifier for your project within the organization.
You can find these slugs in your Sentry project settings.
2. Check GitHub Integration in Sentry
Confirm that your GitHub repository is correctly integrated with Sentry:
- Navigate to Sentry Settings > Integrations > GitHub.
- Ensure that the repository in question is listed and connected.
- If the repository is missing, click Add Repository and follow the prompts to link it.
3. Validate the Authentication Token
Ensure that the Sentry authentication token (SENTRY_AUTH_TOKEN) has the necessary permissions:
- The token should have at least project:read, project:write, and org:read permissions.
- If you’re using GitHub Actions, store the token in GitHub Secrets and reference it in your workflow file:
env:
  SENTRY_AUTH_TOKEN: ${{ secrets.SENTRY_AUTH_TOKEN }}
  SENTRY_ORG: your-org-slug
  SENTRY_PROJECT: your-project-slug
4. Use the Correct Repository Format
When associating commits, ensure you’re using the correct repository format:
- Use the format
owner/repo-name(e.g.,your-org/your-repo). - Avoid using the full URL or SSH format.
5. Update Sentry CLI to the Latest Version
Bugs and issues are often fixed in newer versions of Sentry CLI. Ensure you’re using the latest version by running:
npm install -g @sentry/cli
 Example Workflow Configuration
Here’s an example GitHub Actions workflow that sets up Sentry releases:
name: Sentry Release

on:
  push:
    branches:
      - main

jobs:
  release:
    runs-on: ubuntu-latest
    steps:
      - name: Checkout code
        uses: actions/checkout@v3

      - name: Set up Sentry CLI
        run: npm install -g @sentry/cli

      - name: Create Sentry release
        run: |
          VERSION=$(sentry-cli releases propose-version)
          sentry-cli releases new -p $SENTRY_PROJECT $VERSION
          sentry-cli releases set-commits --auto $VERSION
          sentry-cli releases finalize $VERSION
        env:
          SENTRY_AUTH_TOKEN: ${{ secrets.SENTRY_AUTH_TOKEN }}
          SENTRY_ORG: your-org-slug
          SENTRY_PROJECT: your-project-slug
Additional Tips
- Debugging: Use the
--log-level=debugflag with Sentry CLI commands to get more detailed output for troubleshooting. - Repository Visibility: Ensure that your GitHub repository is public or that Sentry has access to private repositories if applicable.
- Permissions: Verify that the Sentry authentication token has the necessary permissions to access the project and organization.
Further Reading
- Sentry CLI Documentation
- [GitHub Actions: Using Secrets]
- Sentry GitHub Integration Guide
By following these steps, you should be able to resolve the “Sentry CLI Project not found” error in your GitHub workflows. If the issue persists, consider reaching out to Sentry support with detailed logs for further assistance.